Feng Shui DIY En-Suite Vanity Cabinet Before & After
Nothing makes this girl happier than a good DIY and a FANTASTIC before and after. I’ve never been afraid of getting my hands dirty or a little hard work, although the backsaw gave some grief as it was dull and took me forever to cut the 45% angle on the decorative trim I used to dress up the doors and drawers. Next weekend I’ll pick up a new backsaw to make it easier for my other projects.
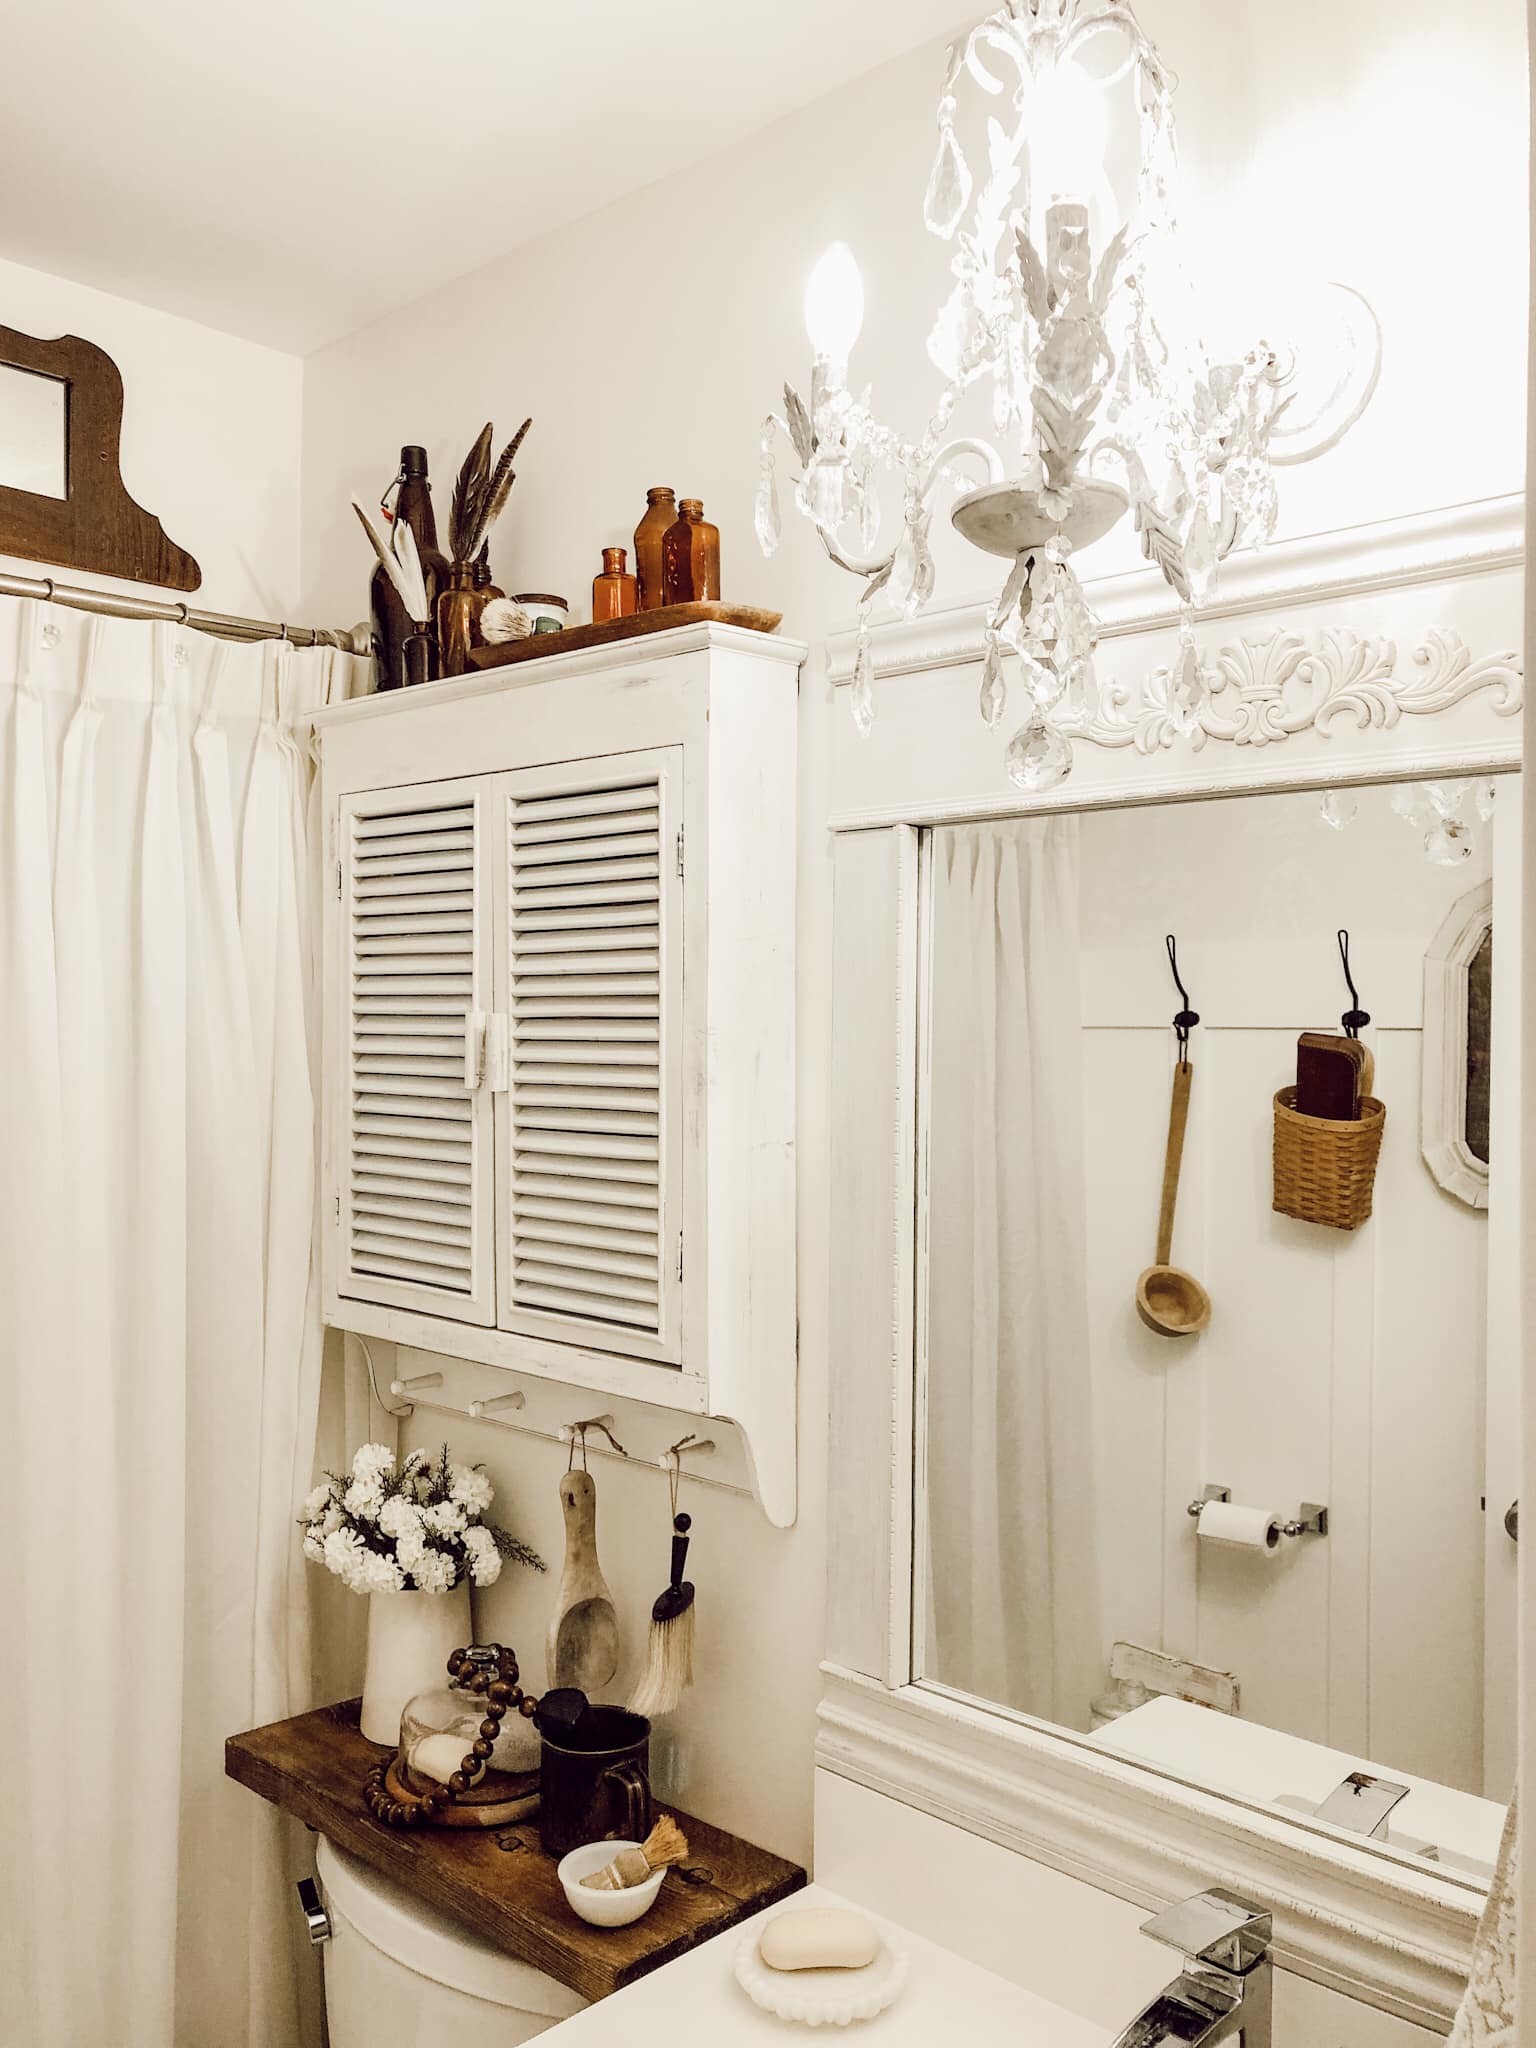
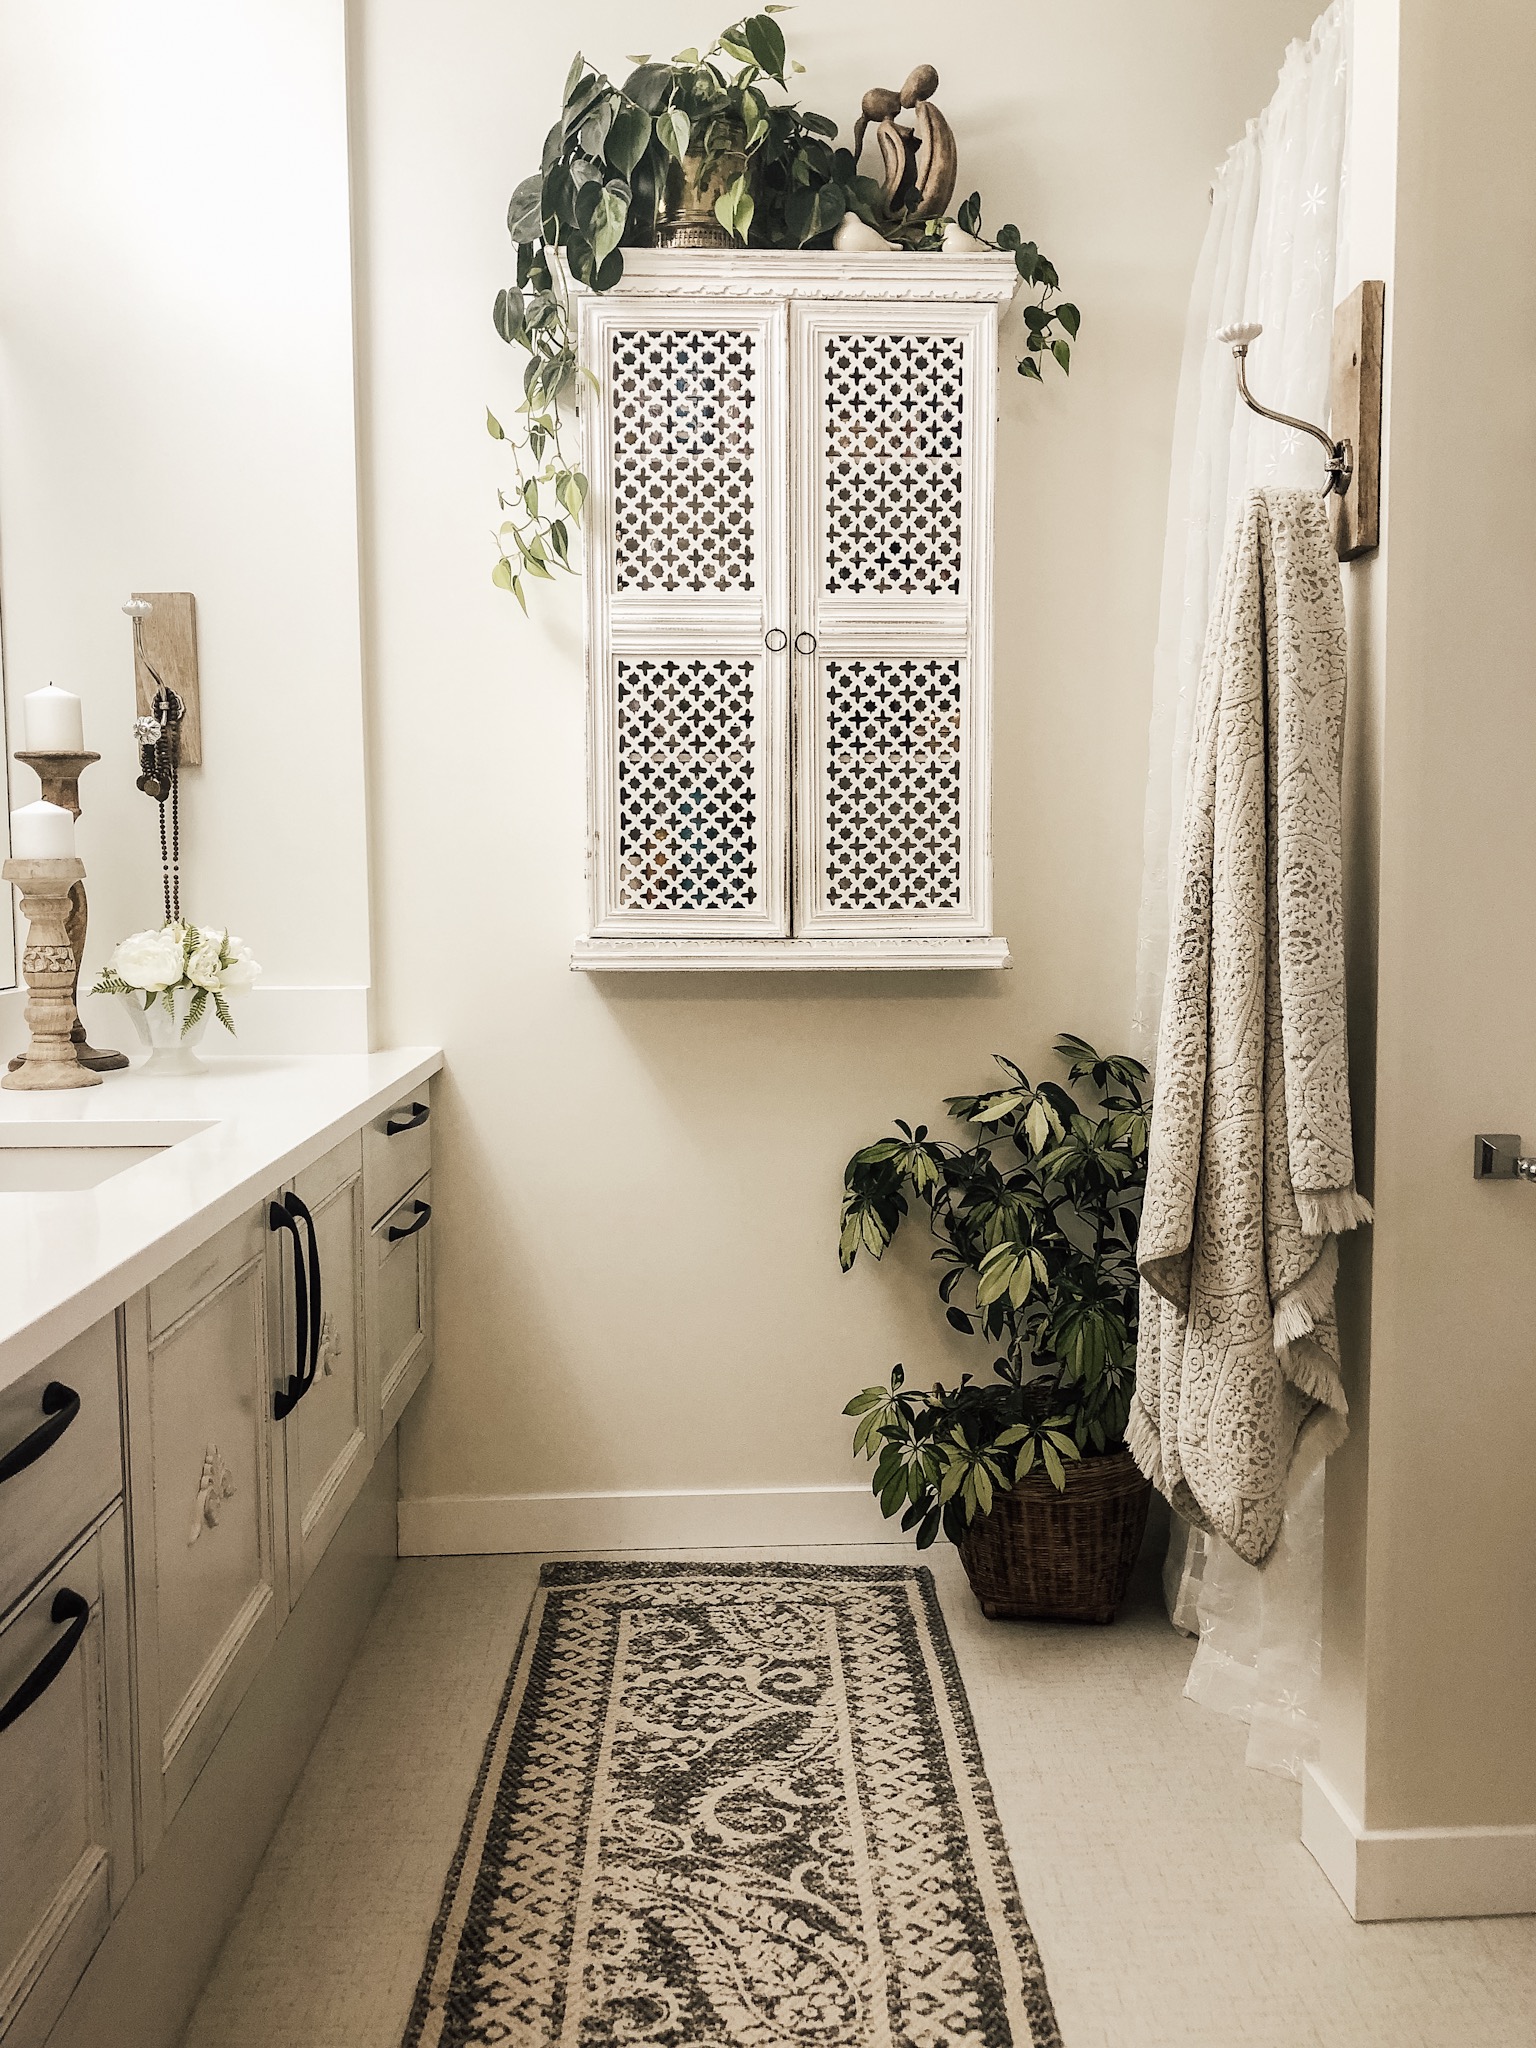
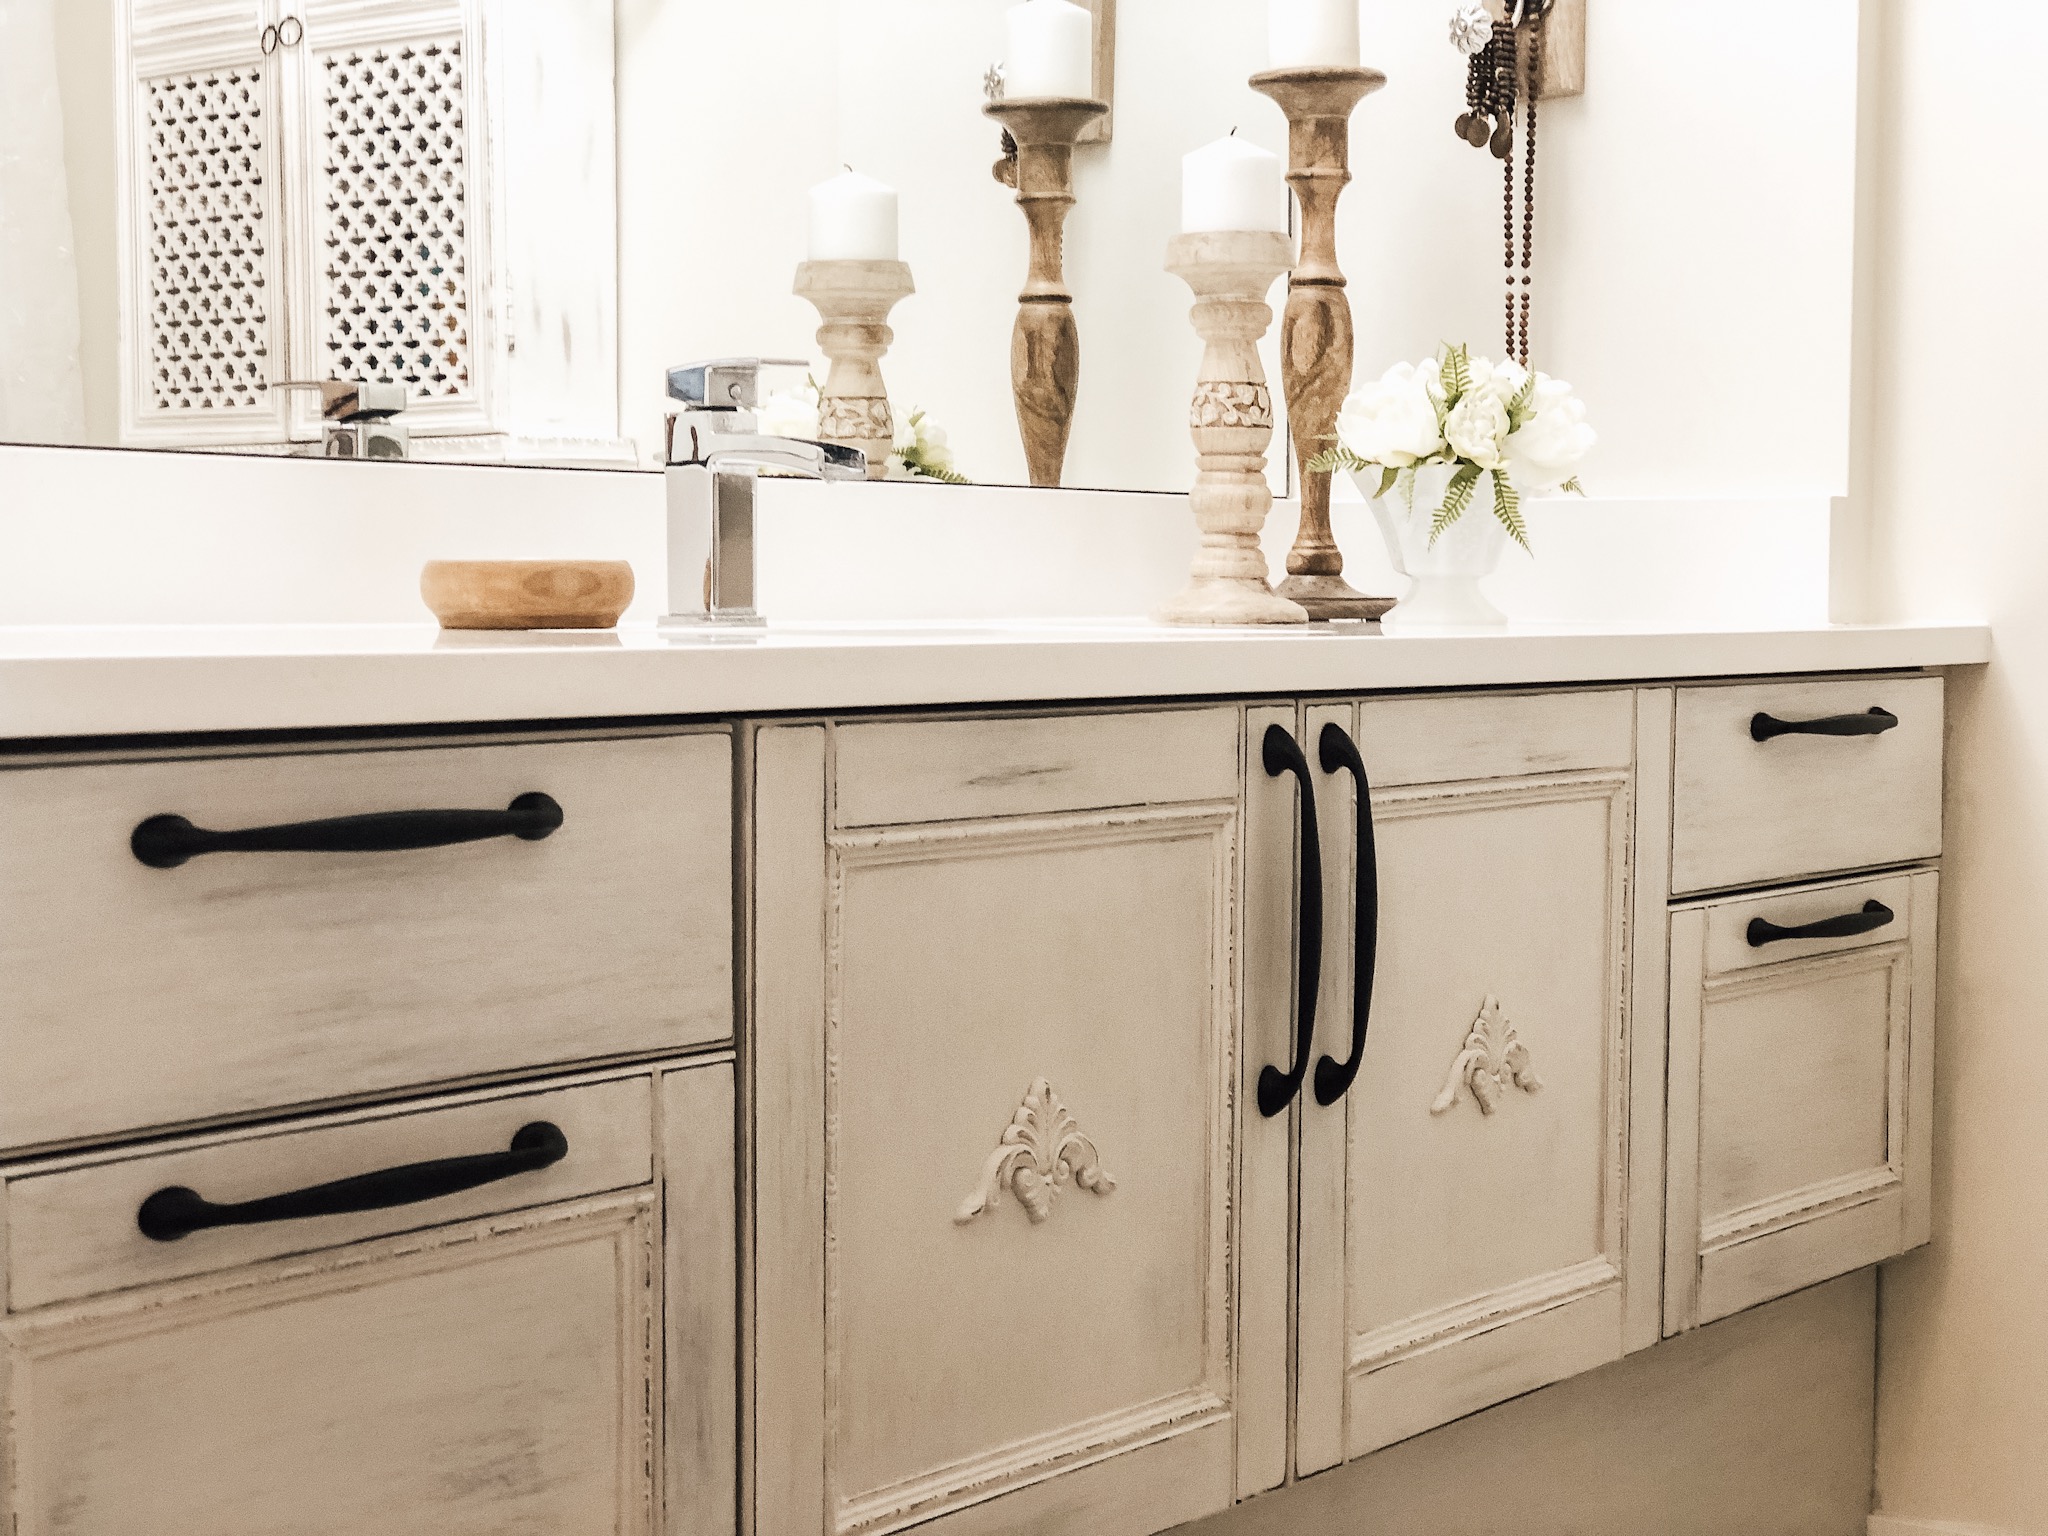
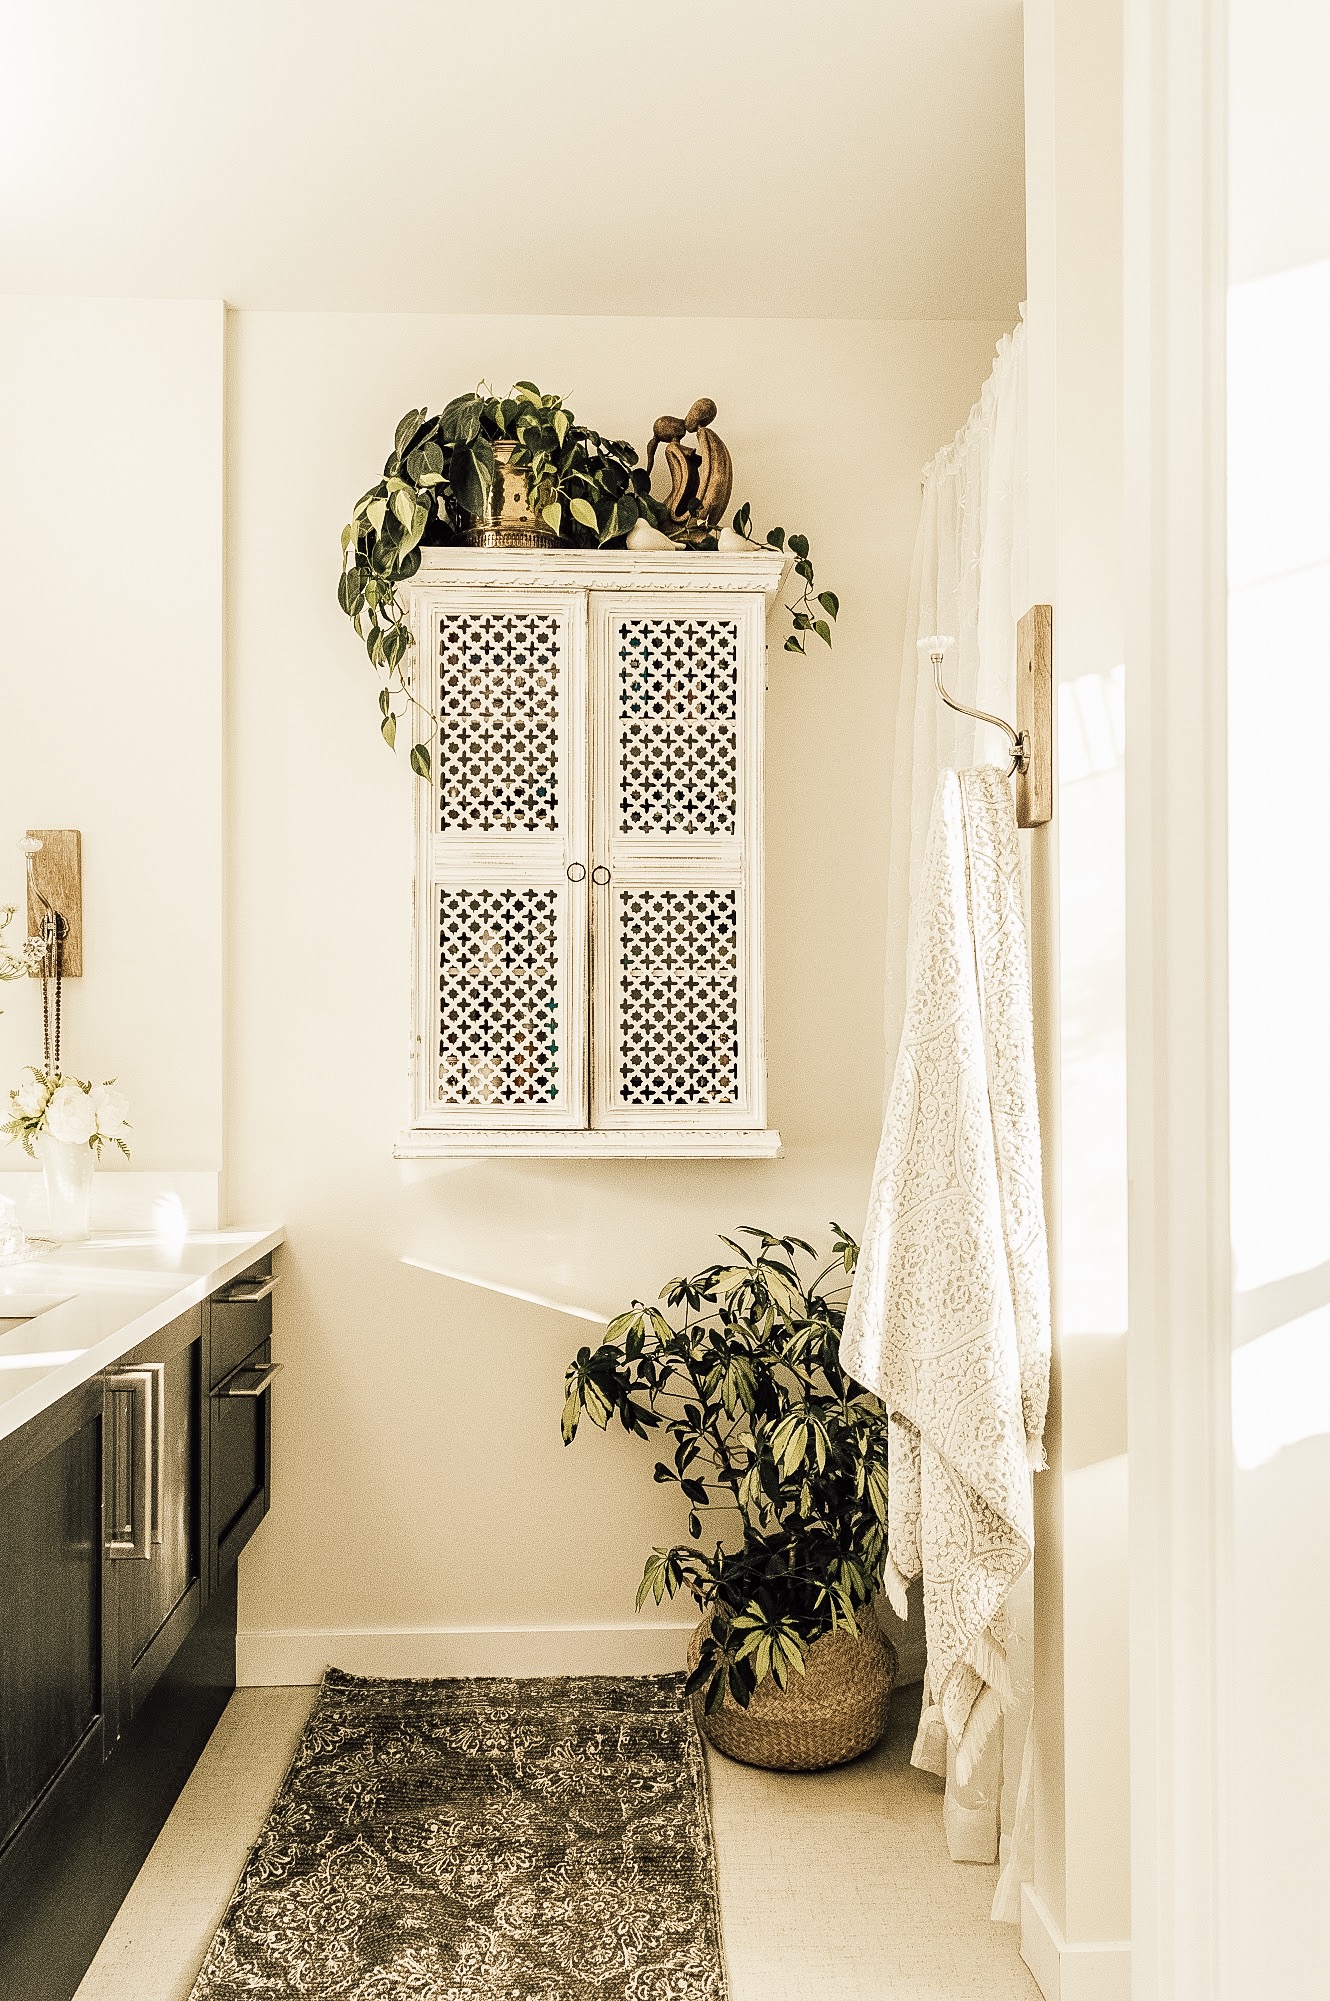
So here’s the after and the before pics. I’m really over the moon about this project.
Here’s my process;
1. I removed all doors, drawers and hardware.
2. Washed down all facing surfaces with Krud Kutter Gloss-Off, wiping with clean water and a non-lint rag once dry. Then a quick sanding with 180 sandpaper to make sure all the previous varnish and grime had been removed.

3. Painted the wood appliques and trim the same base colour as the expresso cabinets to create a cohesive look when distressing the cabinets.
3. Glued the wood embellishments onto the doors and drawers. Applied paintable, latex cocking to joints to close any spaces.
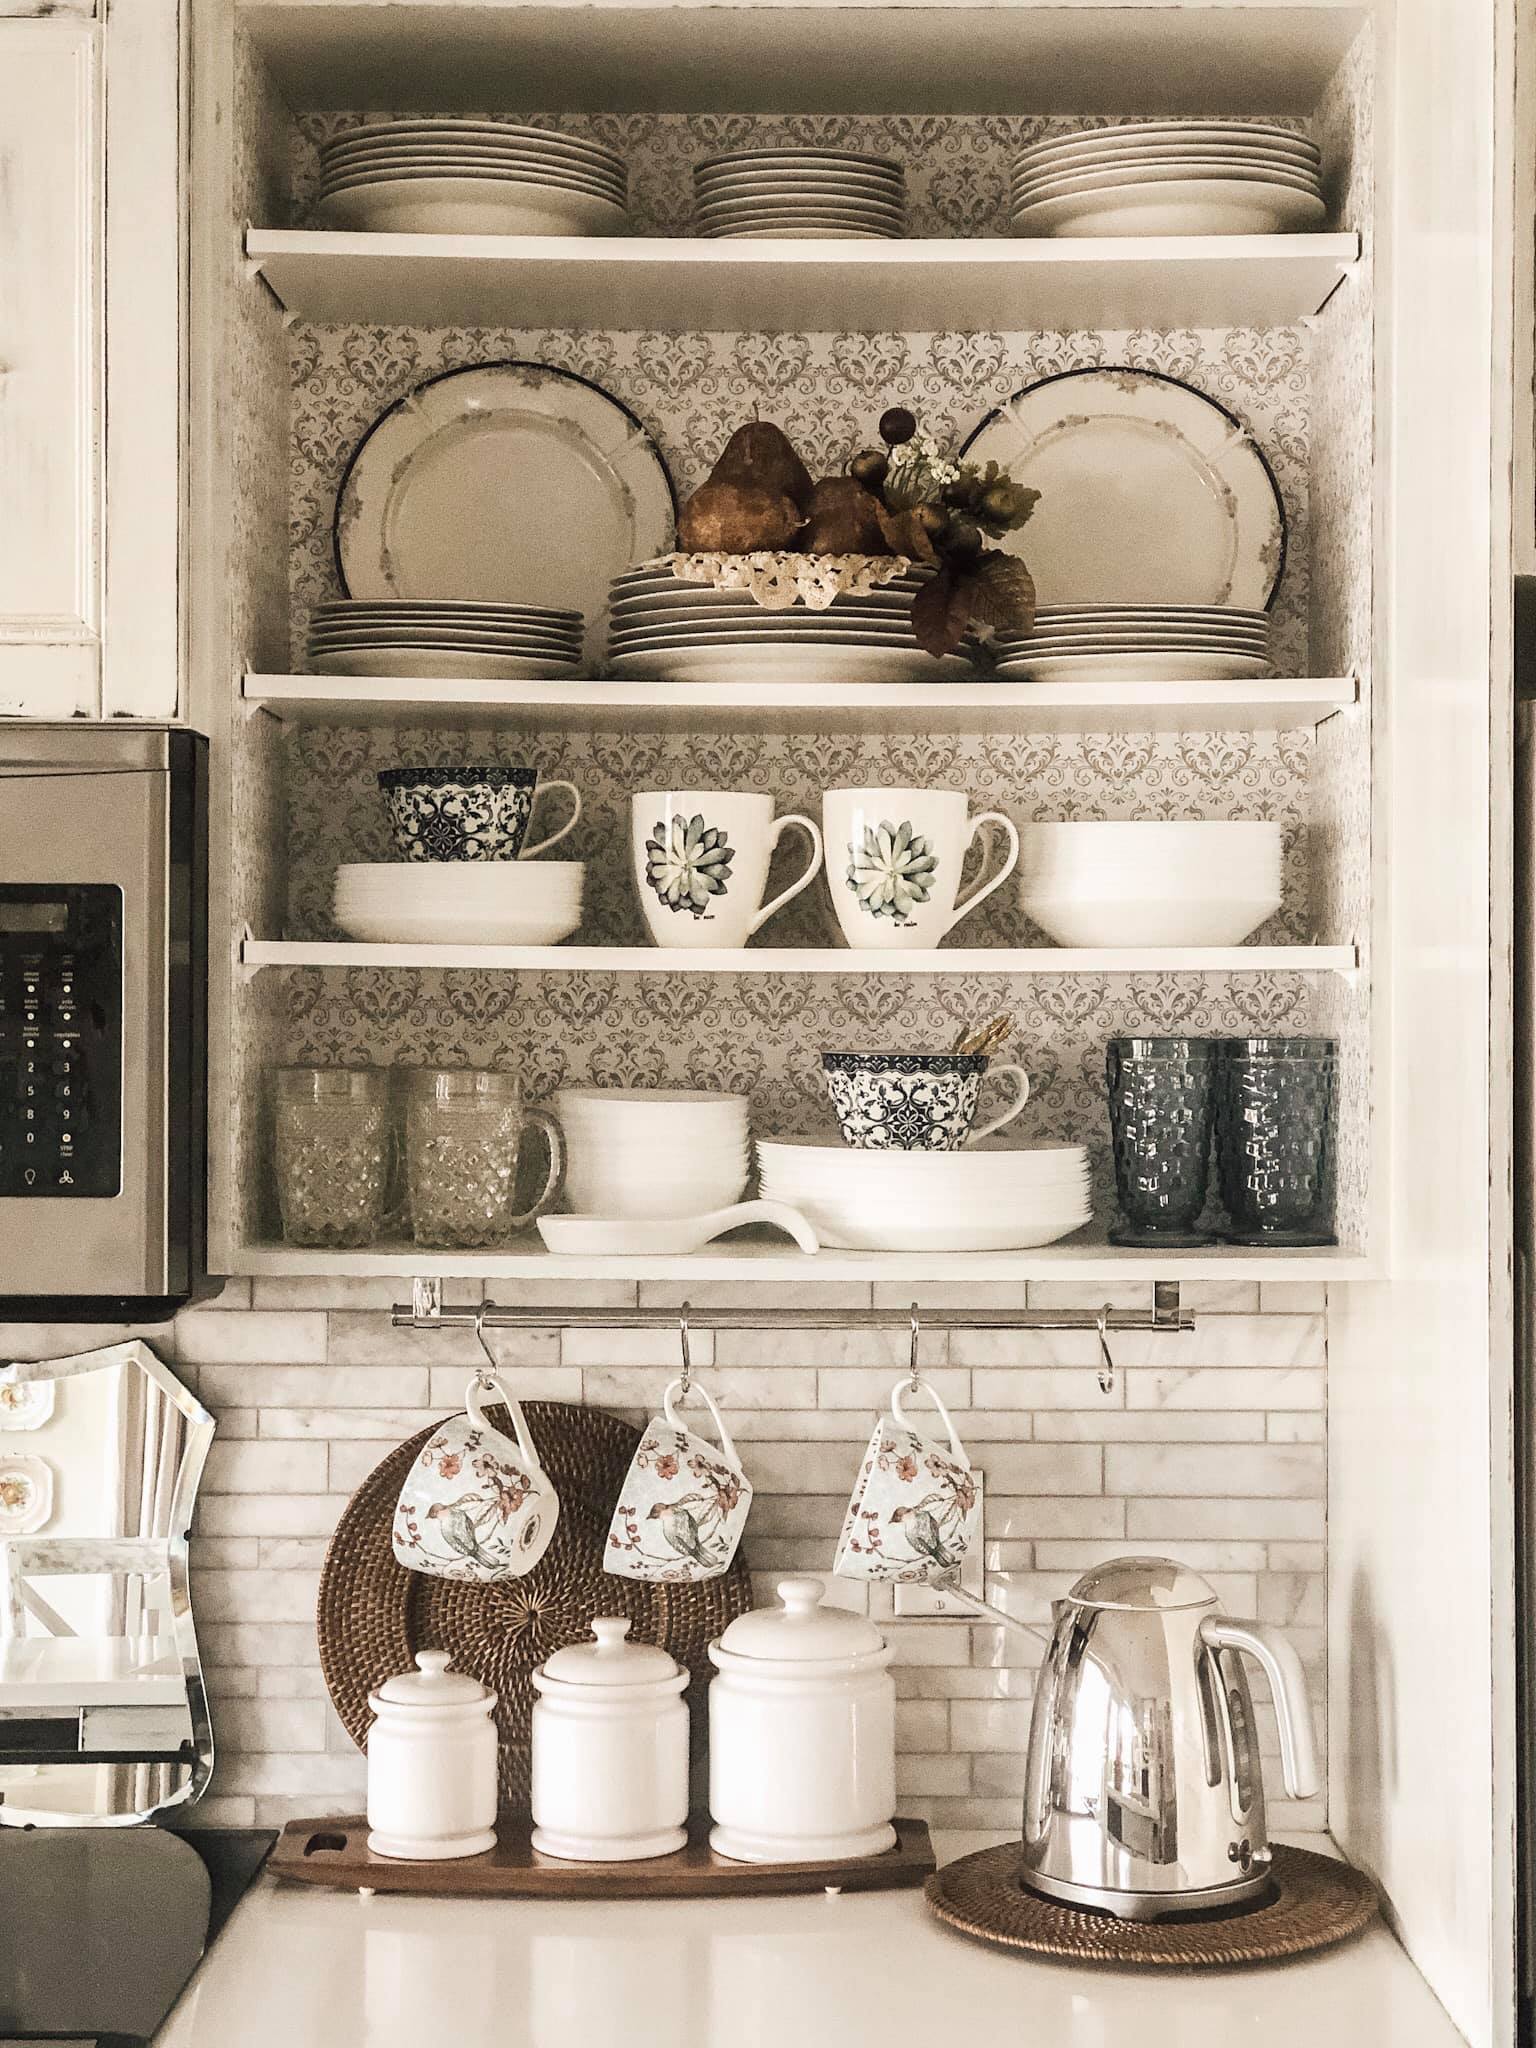
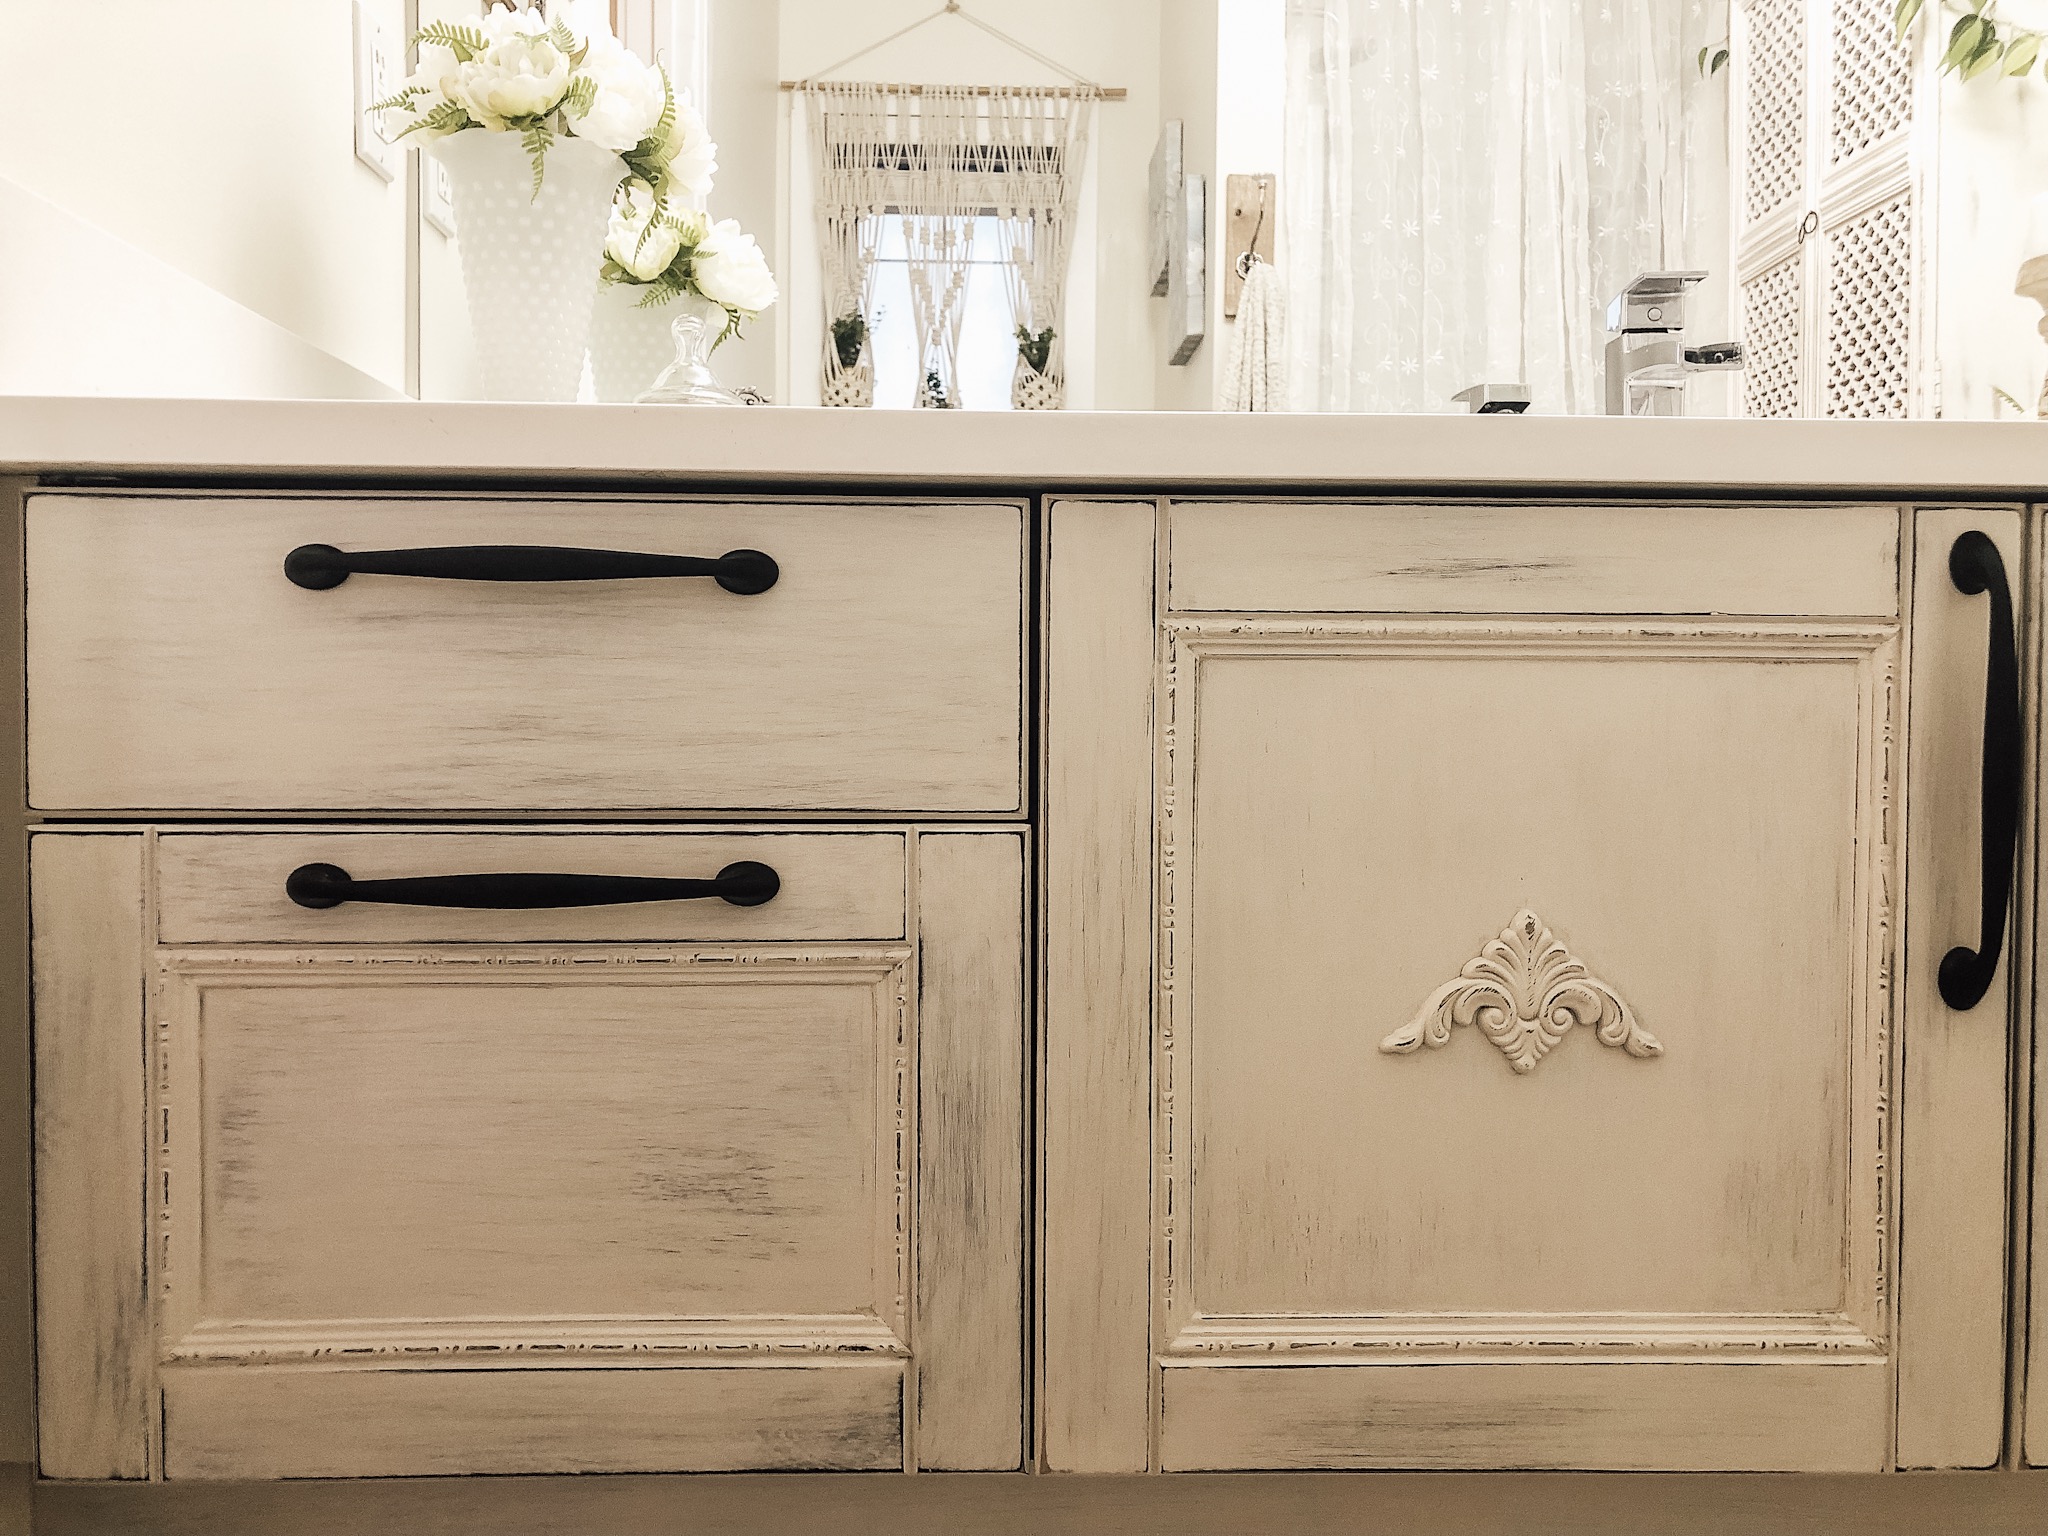
4. Whitewashed all facing surfaces with 2 parts latex paint in Benjamine Moore Grey Mist (the same paint colour I used on all our other furniture DIY projects as in the headboard, nightstands, china cabinet, dining room chairs and more) and 1 part water.
I applied each coat lightly brushing with the grain of the wood.
I let the coat of paint stand for a few minutes and then wiped it down with a wet t-shirt material rag.
In total, I applied 4 coats of whitewash to give it a layered look.
30 minutes after the final coat I lightly sanded all the painted surface with a 220 sandpaper, paying close attention to the edges and raised surface to give it an antiqued look and feel.
5. 24 hours after painting I applied 3 coats of clear, non-yellowing Verathain to protect the surface from chips and scratches.
6. The old handles were too modern for this look and feel, so I purchased new ones at Home Depot for a $100.00 in total.
The entire refresh of the vanity cost approximately $130.00 and 24 hours of my weekend. Money and time well spent I think.
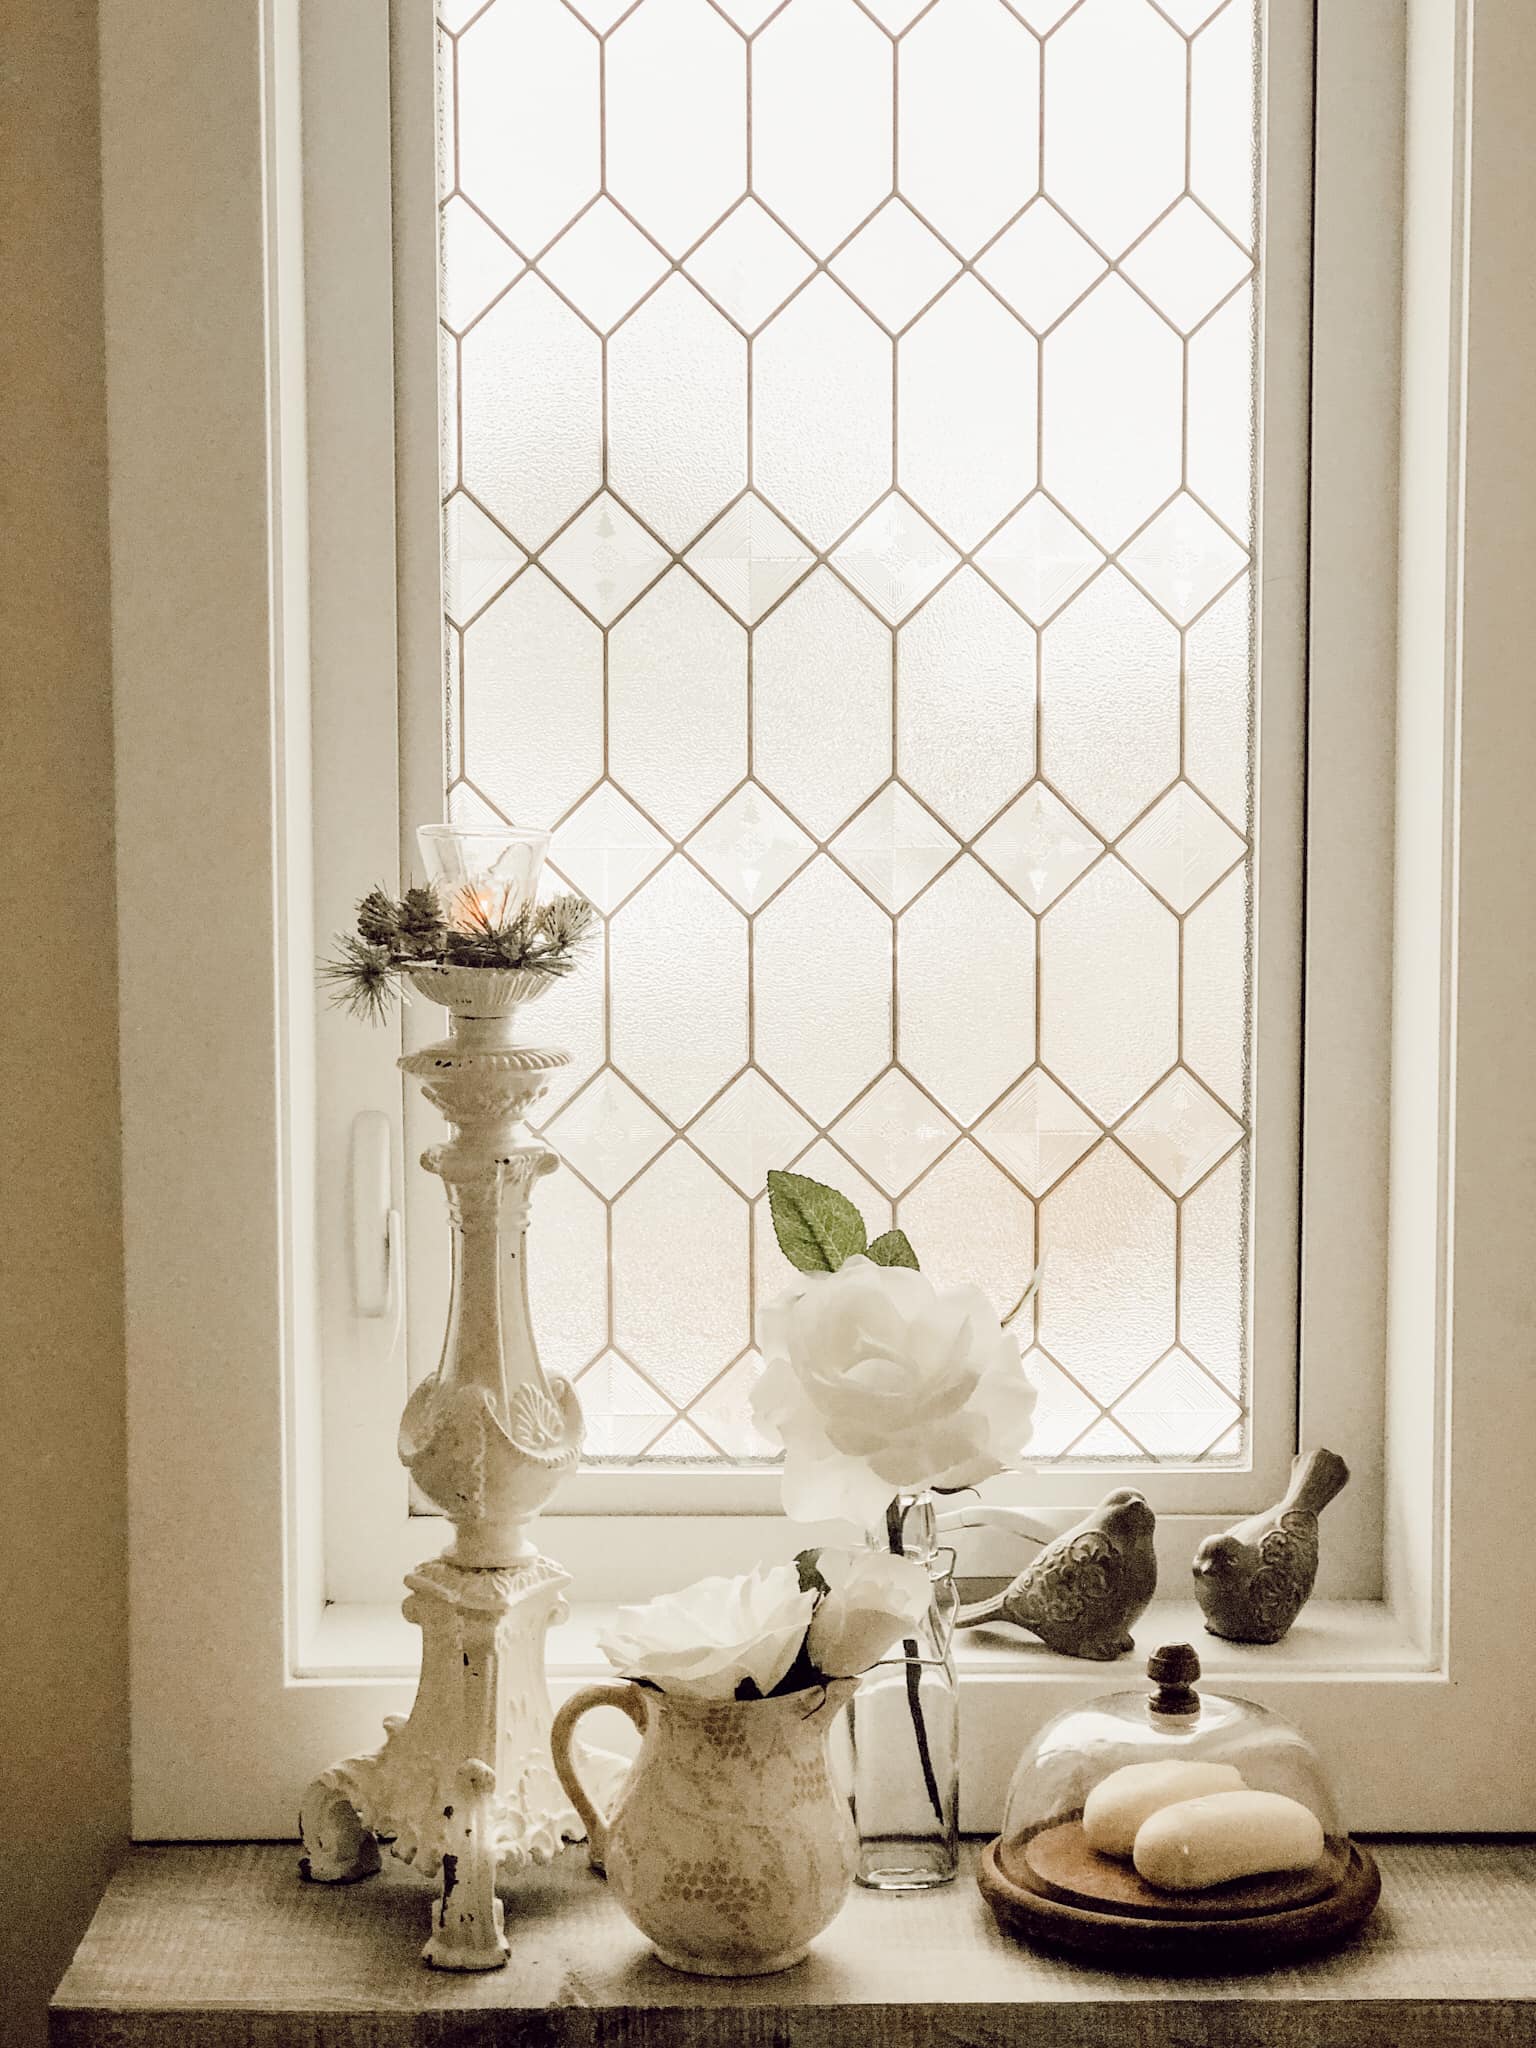
Stay tuned for the transformation of the builder grade mirror to something beautiful and stylish. Oh, I’ll be wallpapering the feature wall as well!
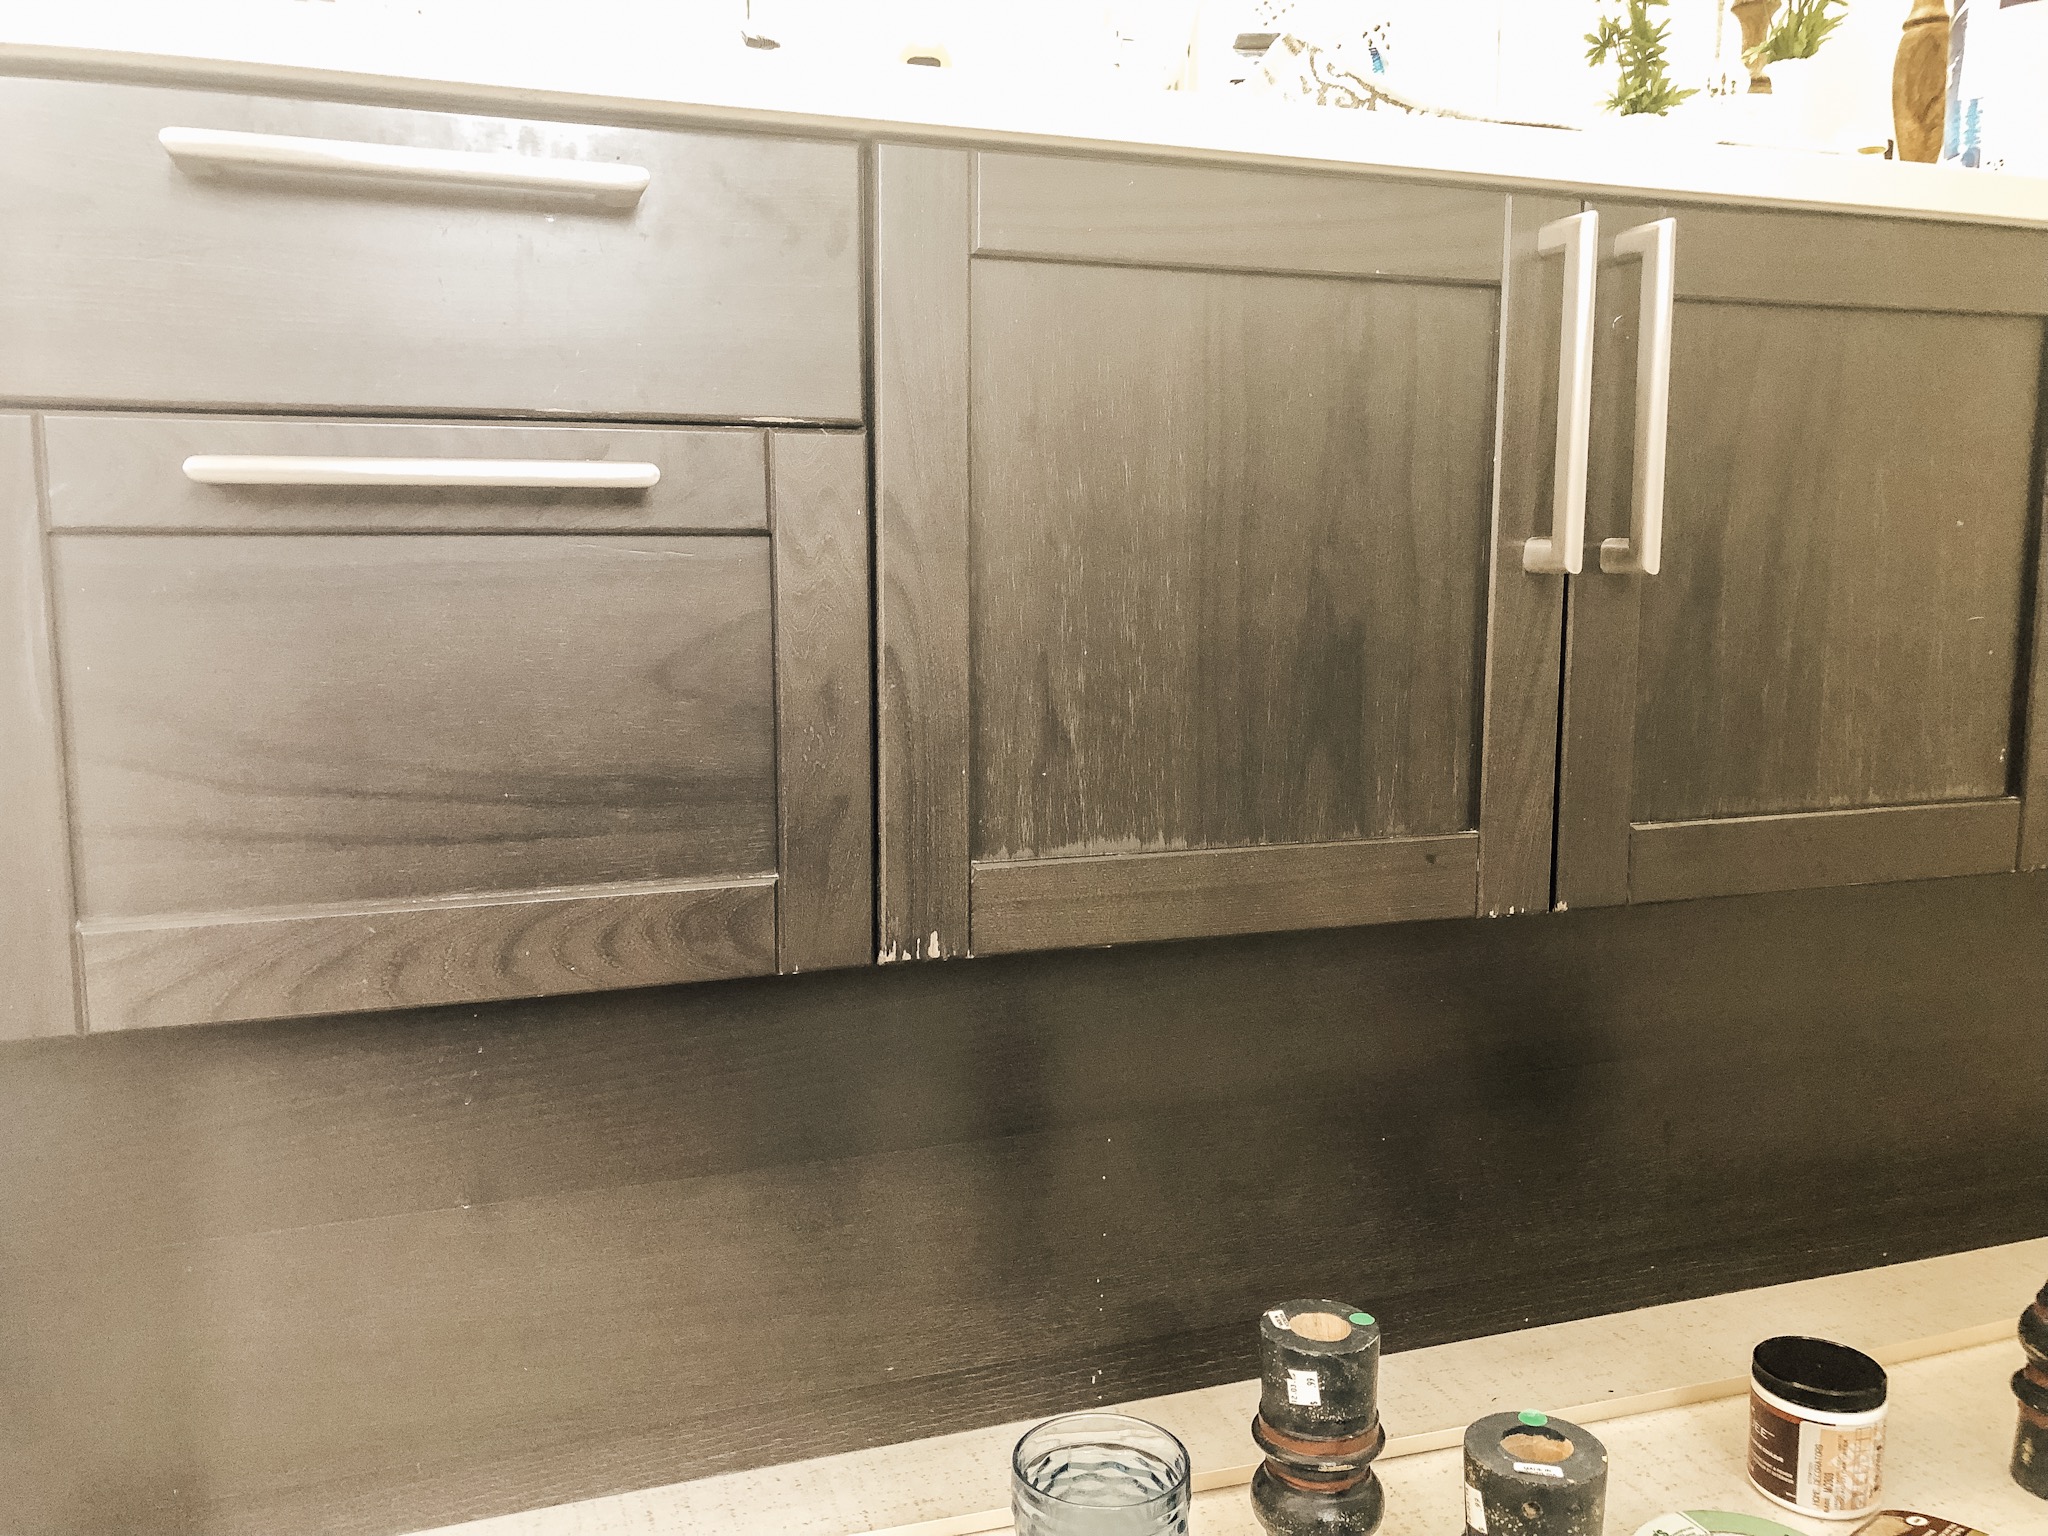
Before
These cabinets are only 6 years old and were in this shape when we purchased the house 2 years ago. We only looked at homes from this builder, and with this floorplan, all the homes we looked at had the same issue with all their kitchen and bathroom cabinets. To me, the pealing of the stain and sealant is due to poor craftsmanship. This is one of the reasons I chose to refresh the cabinets but not the only one. I so dislike expresso kitchens and baths. I find them so dark and soon to be dated. I love a white/cream cabinet as they are more timeless.
When we had our kitchen custom built in our old home, I wanted solid wood, distress cabinets but the distressing was extra and crazy expensive, so we opted for solid maple sprayed white. They were lovely, but I’m loving the new version of this weeks DIY much better!